Silver Birch
PRO Tips
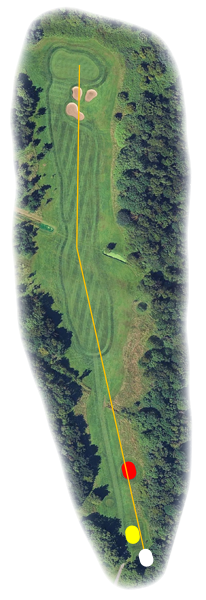
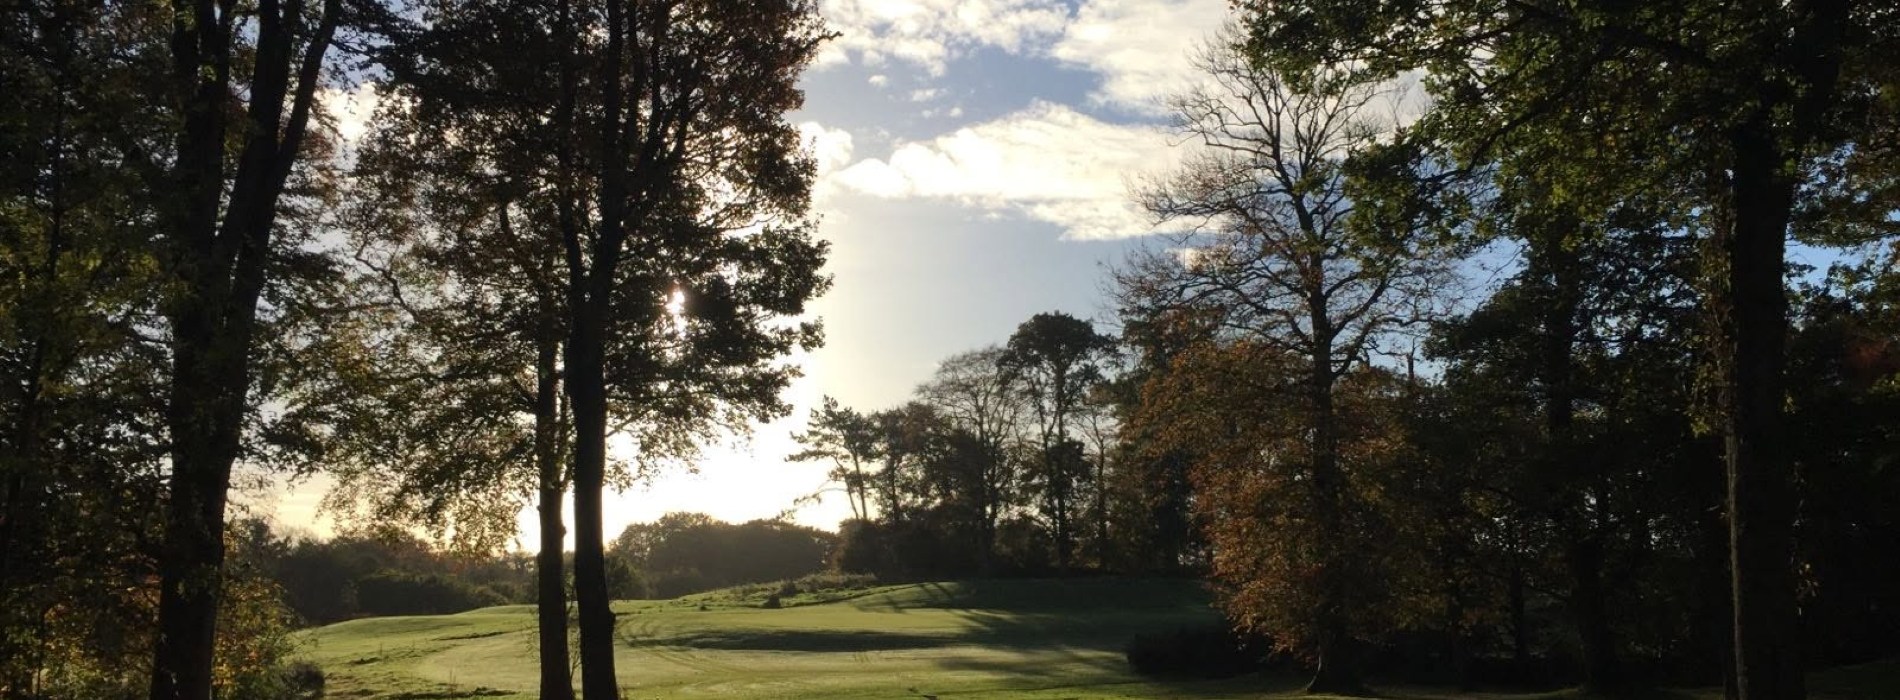
From the tee, you’re faced with a risk-and-reward decision. Out of bounds awaits on the right, while heavy rough lines to the left. To add to the challenge, a covered over sheugh runs across the fairway which is exposed at both sides, positioned exactly at typical driving distance. This makes club selection and accuracy especially important.
This is a hole where you need to trust your drive. If you’re confident, taking on the challenge can leave you with a shorter iron into the green. Alternatively, play more conservatively and lay up short of the danger, leaving yourself a generous area of fairway and a safer approach.
The green itself sits on a raised hillside, with red dogwood bushes guarding the back and three bunkers protecting the front. These are classic traps for the unwary, so approach with care and avoid chasing the pin if the risks outweigh the rewards.
Choose your strategy wisely, commit to the shot, and you’ll give yourself the best chance of coming away with a good score.
Yardages
| TEE | PAR | YARDS | SI | |
|---|---|---|---|---|
| White | 4 | 354 | 9 | |
| Yellow | 4 | 343 | 9 | |
| Red | 4 | 296 | 5 |