Yew are Home
PRO Tips
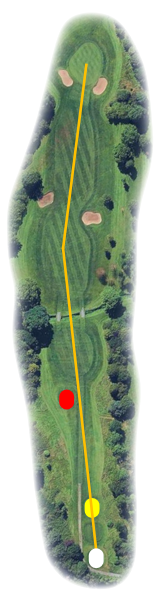
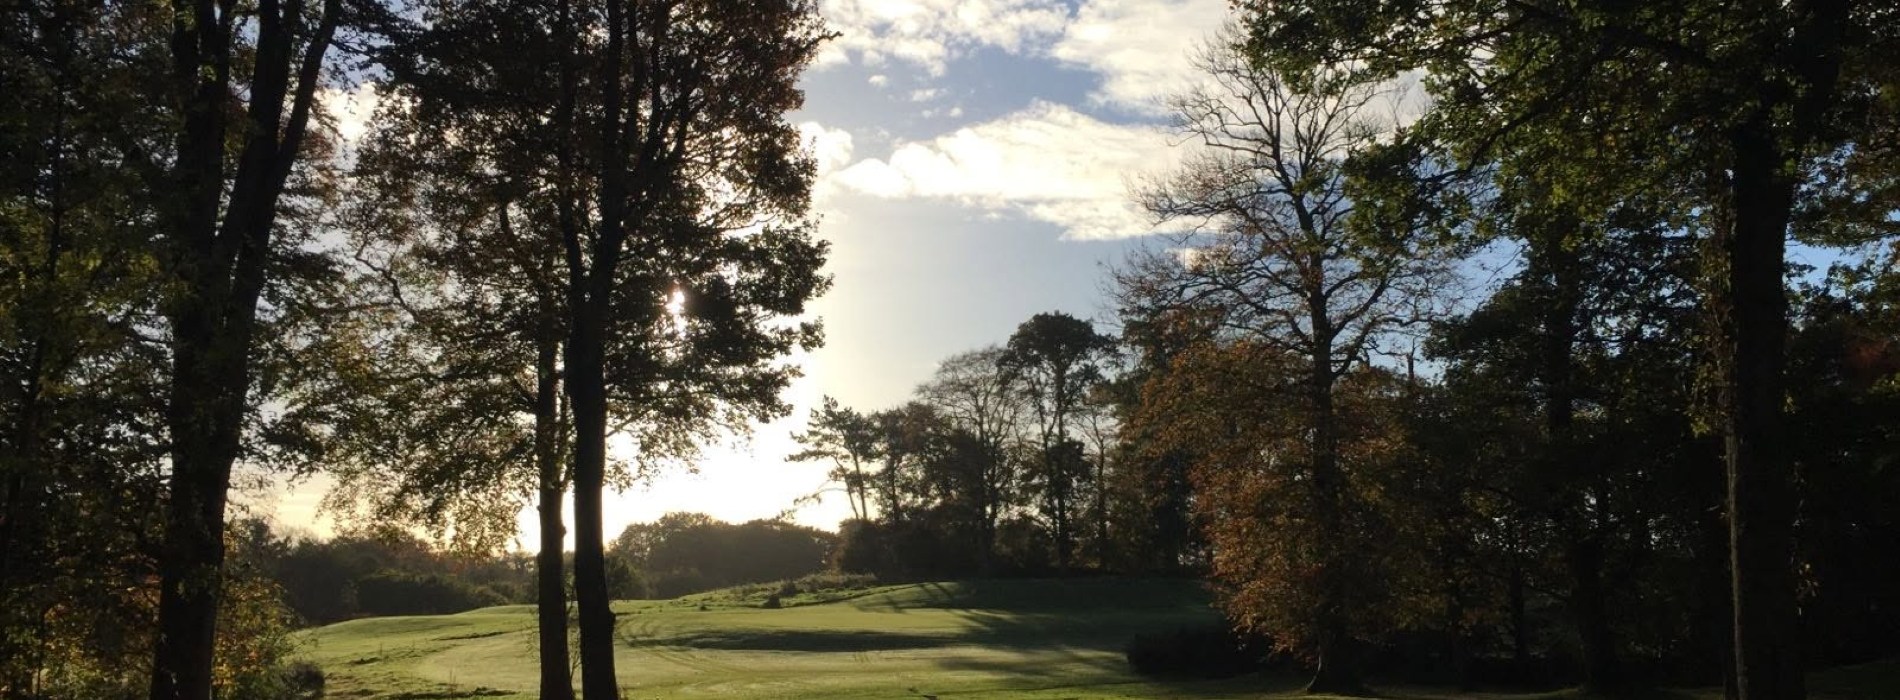
This is a demanding finishing hole, with the tee shot playing uphill towards the final green. From the tee, the putting surface itself is hidden from view, although the flag will give you a useful indication of its position. With the finish in sight, good course management is essential.
A sheugh crosses the fairway and presents the first major decision. For the average golfer, the choice is whether to lay up short and accept a longer second shot, or take on the hazard and gain a shorter approach.
Two fairway bunkers, positioned left and right, add further danger and are particularly likely to catch the bigger hitters looking to leave themselves a short iron into the green.
The elevated green is well protected, with bunkers guarding the front left and right. Because the putting surface is hidden from the fairway, judging the correct distance into the green is crucial. A shot that finishes too long or short can leave a difficult recovery and take the birdie opportunity away.
Make your decision from the tee based on your own strengths and commit fully to it. Use the flag as your reference point and trust your yardage, as the hidden green makes depth difficult to judge. If you’re looking to finish with a birdie, the key is to get the distance right and leave yourself a realistic chance on the putting surface.
Yardages
| TEE | PAR | YARDS | SI | |
|---|---|---|---|---|
| White | 4 | 353 | 15 | |
| Yellow | 4 | 335 | 15 | |
| Red | 4 | 239 | 15 |