Chestnut Chase
PRO Tips
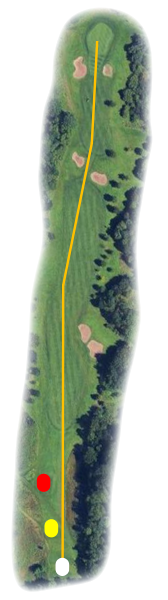
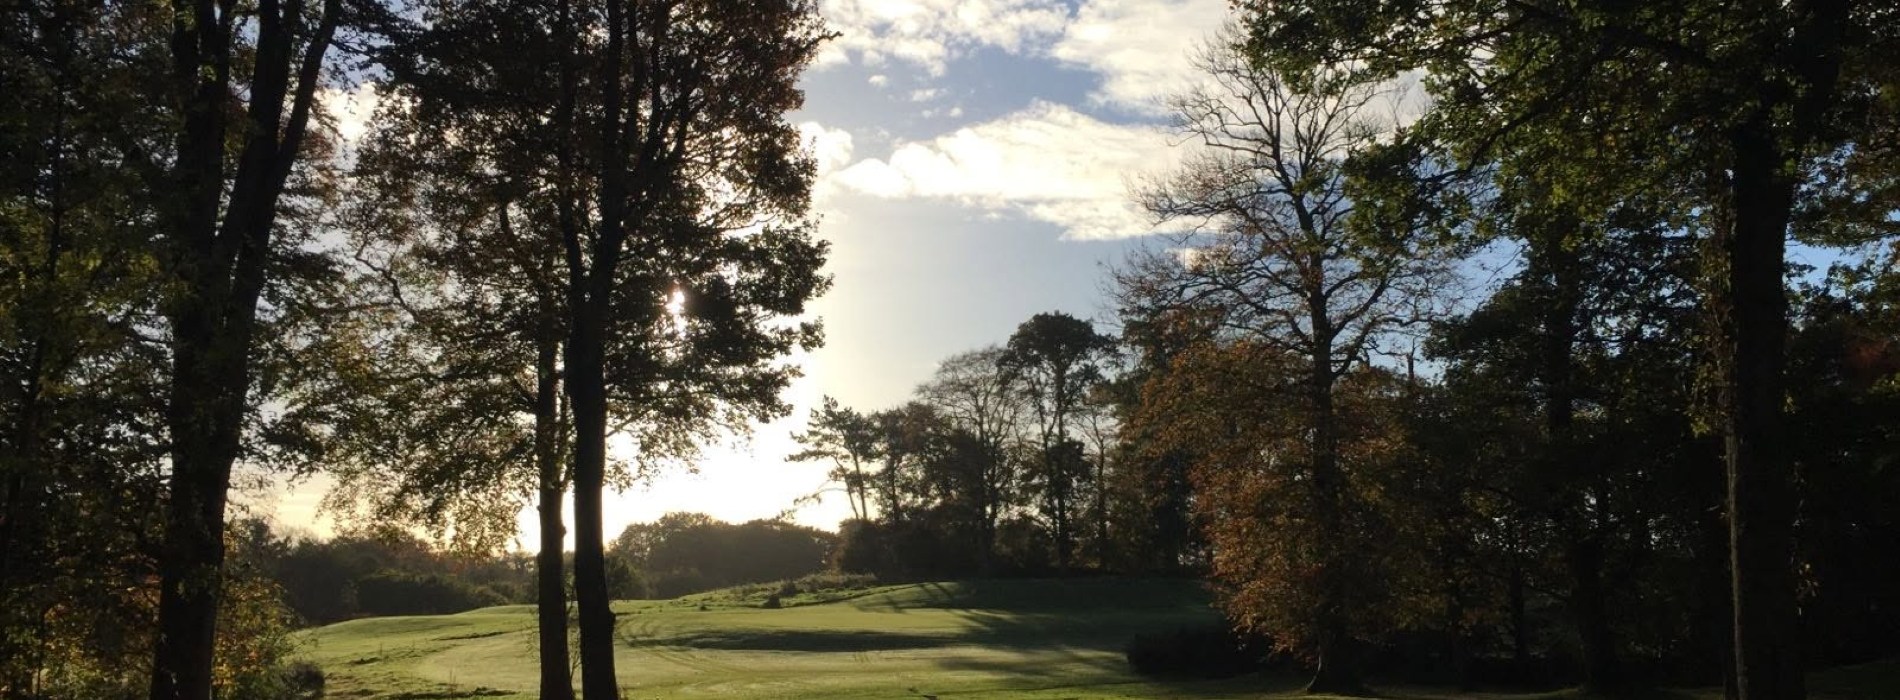
From this elevated tee, you get a fantastic view of the hole, with the green visible in the distance. Three good shots are likely to be required to reach the green in regulation, so don’t try to force things.
A solid tee shot is essential. The fairway is protected by bunkers on the right around the main landing area, so pick a confident line and favour the left side if appropriate. Finding the fairway will set you up nicely for the second shot.
A set of cross bunkers sits at the ideal distance to catch an overly aggressive second shot. Take note of their position and choose your club accordingly.
The green is guarded by bunkers short-left and short-right, making the approach shot another key test. Take enough club to reach the putting surface, but avoid bringing the trouble into play.
The green is relatively large, with a gentle slope from right to left. Pay close attention to the break on your putts and, above all, avoid getting too aggressive with your first putt.
Think of this as a hole where patience pays. Three controlled shots will give you a good opportunity to make par. Keep the ball in play, respect the bunkers, and leave yourself a manageable first putt – there’s no need to turn a good hole into a bogey.
Yardages
| TEE | PAR | YARDS | SI | |
|---|---|---|---|---|
| White | 5 | 494 | 17 | |
| Yellow | 5 | 480 | 17 | |
| Red | 5 | 418 | 7 |